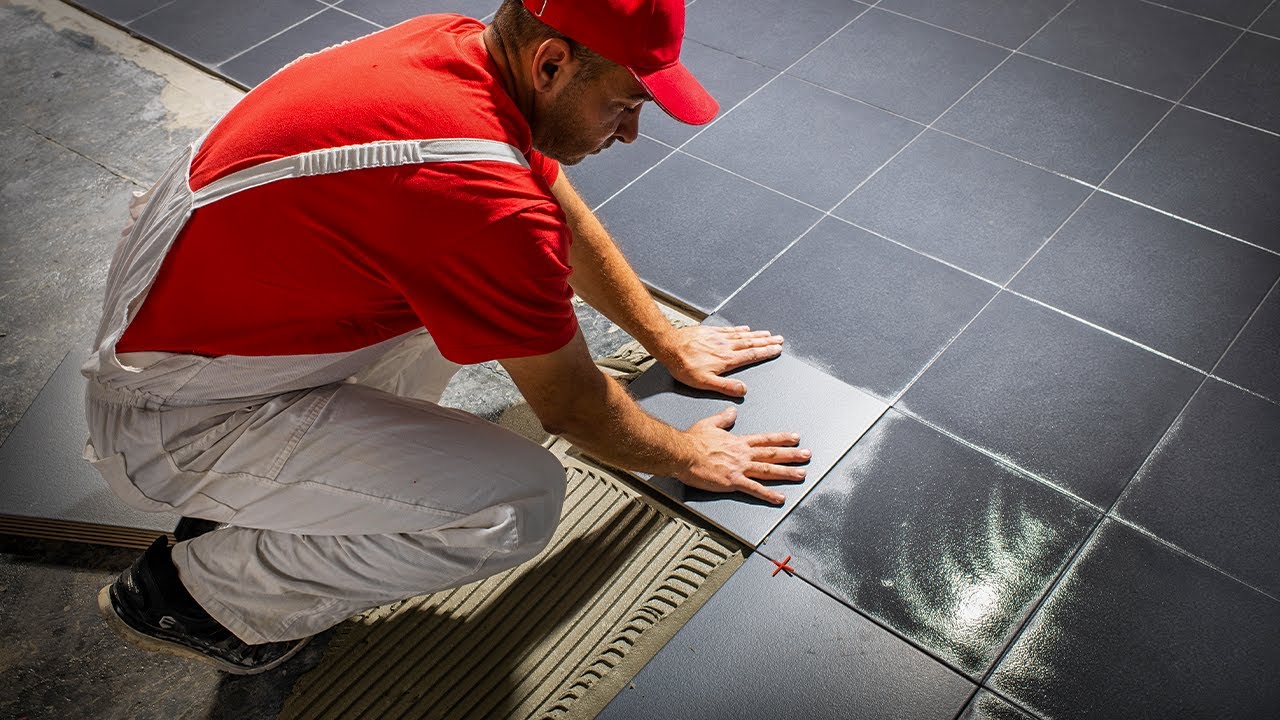
Tackling a tile installation project can be an exciting way to update your home, adding both style and functionality. Whether you’re revamping a bathroom, kitchen, or any other space, a successful DIY tile installation requires careful planning and execution. Here’s a comprehensive guide to help you through each stage of the process, ensuring a professional-looking result.
1. Preparation and Planning
Evaluate and Measure: Begin by evaluating the area you plan to tile. Accurately measure the dimensions to calculate the number of tiles required, including an additional 10% for potential mistakes or future repairs.
Choose Your Tiles: Select tiles that align with your design vision and practical needs. Ceramic and porcelain tiles are excellent for high-traffic areas, while natural stone tiles offer a touch of elegance.
Gather Your Tools and Materials: Equip yourself with essential tools and materials, including tiles, thin-set mortar, tile spacers, a tile cutter or wet saw, a notched trowel, a level, a rubber mallet, grout, a grout sealer, a sponge, a bucket, and rags.
2. Surface Preparation
Clean and Repair: Ensure the surface where tiles will be installed is clean, smooth, and dry. Remove any old adhesive or grout and address any surface imperfections with repairs.
Prime the Surface: For new or porous surfaces, apply a primer or sealer to enhance adhesion and ensure a strong bond between the tiles and the substrate.
3. Layout and Design
Dry Layout: Before applying any adhesive, lay out your tiles in the desired pattern. This allows you to visualize the arrangement and make adjustments to avoid narrow tiles at the edges.
Center the Layout: Find the center of the room or area and mark this point. Starting from the center helps ensure that any cut tiles are evenly distributed along the perimeter.
Mark Guide Lines: Use a chalk line or pencil to draw straight guide lines based on your layout. These lines will act as references to keep your tiles aligned and level.
4. Applying Tile Adhesive
Prepare the Adhesive: Mix the tile adhesive according to the manufacturer’s instructions. Prepare only as much as you can use within 30 minutes to prevent it from drying out.
Apply the Adhesive: Using a notched trowel, spread a thin layer of adhesive over a small section of the surface. Hold the trowel at an angle to create ridges in the adhesive, which improves tile adhesion.
5. Tile Placement
Start Tiling: Begin placing tiles along the guide lines you’ve marked. Press each tile firmly into the adhesive and twist slightly to ensure a good bond. Insert tile spacers between each tile to maintain even grout lines.
Check for Level: Frequently use a level to ensure the tiles are even and aligned. Adjust as necessary by tapping the tiles gently with a rubber mallet.
Cut Tiles as Needed: For edges or corners, measure and cut tiles using a tile cutter or wet saw. Always wear protective gear like safety goggles and gloves while cutting.
6. Allow Adhesive to Set
Let It Cure: Allow the adhesive to cure according to the manufacturer’s recommendations, typically 24 hours. Avoid walking on the tiles during this period to ensure they set properly.
7. Grouting the Tiles
Prepare the Grout: Mix the grout according to the instructions on the package. Only mix as much grout as you can use within its working time to prevent it from setting too quickly.
Apply the Grout: Using a rubber grout float, spread the grout over the tiles, pressing it into the joints. Hold the float at a slight angle and work in a diagonal motion to fill all the spaces.
Clean Excess Grout: After filling the joints, use a damp sponge to wipe off excess grout from the tile surface. Rinse the sponge frequently to avoid spreading grout haze.
Final Cleaning: Once the grout has set but not fully cured, clean any remaining haze from the tiles with a damp sponge and a clean cloth.
8. Sealing the Grout
Apply Grout Sealer: After the grout has fully cured, usually 72 hours, apply a grout sealer to protect against moisture and staining. Follow the manufacturer’s instructions for the best results.
Finishing Touches: Perform a final clean-up to remove any remaining residue or grout haze. Check that all tiles are securely set and all grout lines are uniform.
With these detailed steps, you’re well-equipped to undertake a tile installation project with confidence. Taking the time to prepare properly and execute each step carefully will result in a beautiful and durable tile surface that enhances the look and functionality of your space. Enjoy the satisfaction of completing your DIY project and the fresh new look of your home.

